 |
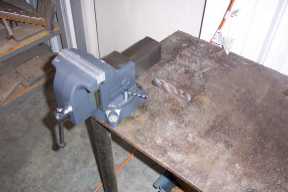
Lets start with a bench vise. You will use
one constantly for holding parts while you work on them. Do yourself a favor
and replace the part killing serrated jaws with a nice soft set of aluminum
jaws. Your parts will thank you. |
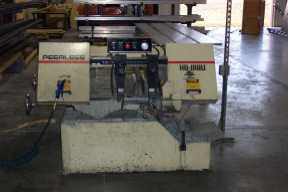 |
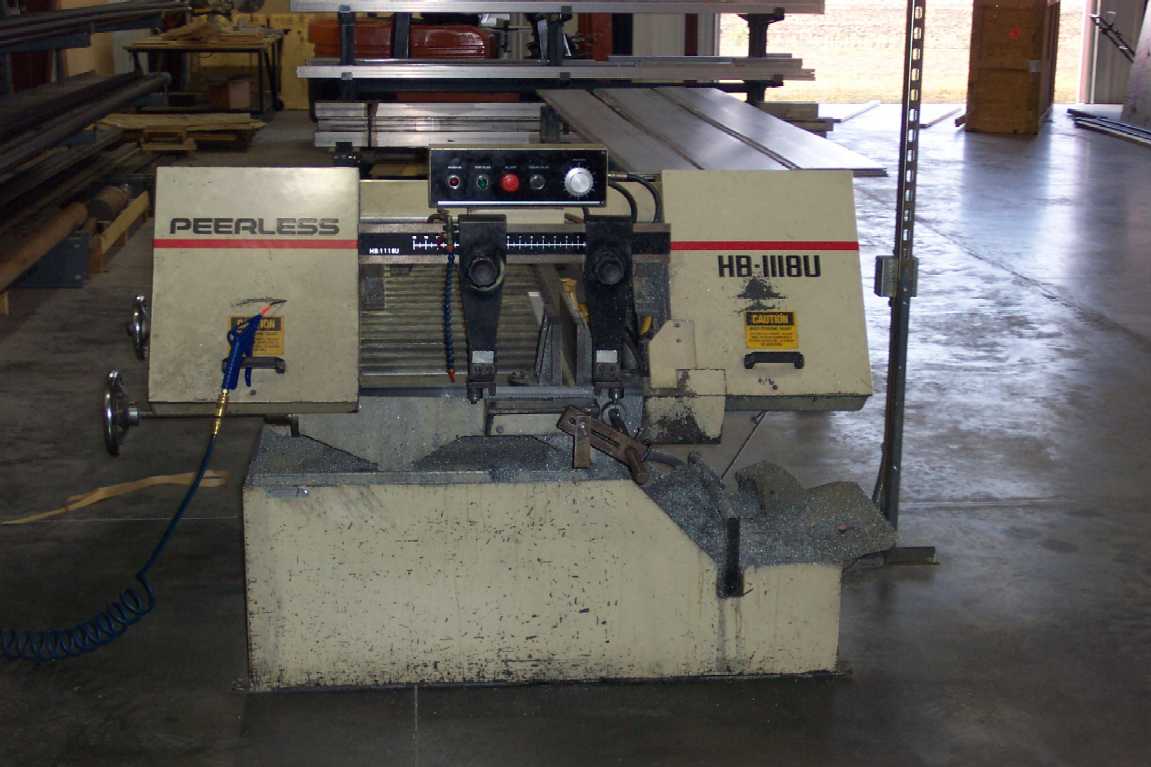
You have to have some way to cut
your raw material into smaller pieces. This horizontal band saw is what I used
to cut my tubing to length. You could use a hacksaw or even better, a 14"
abrasive chop saw. |
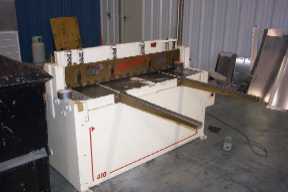 |
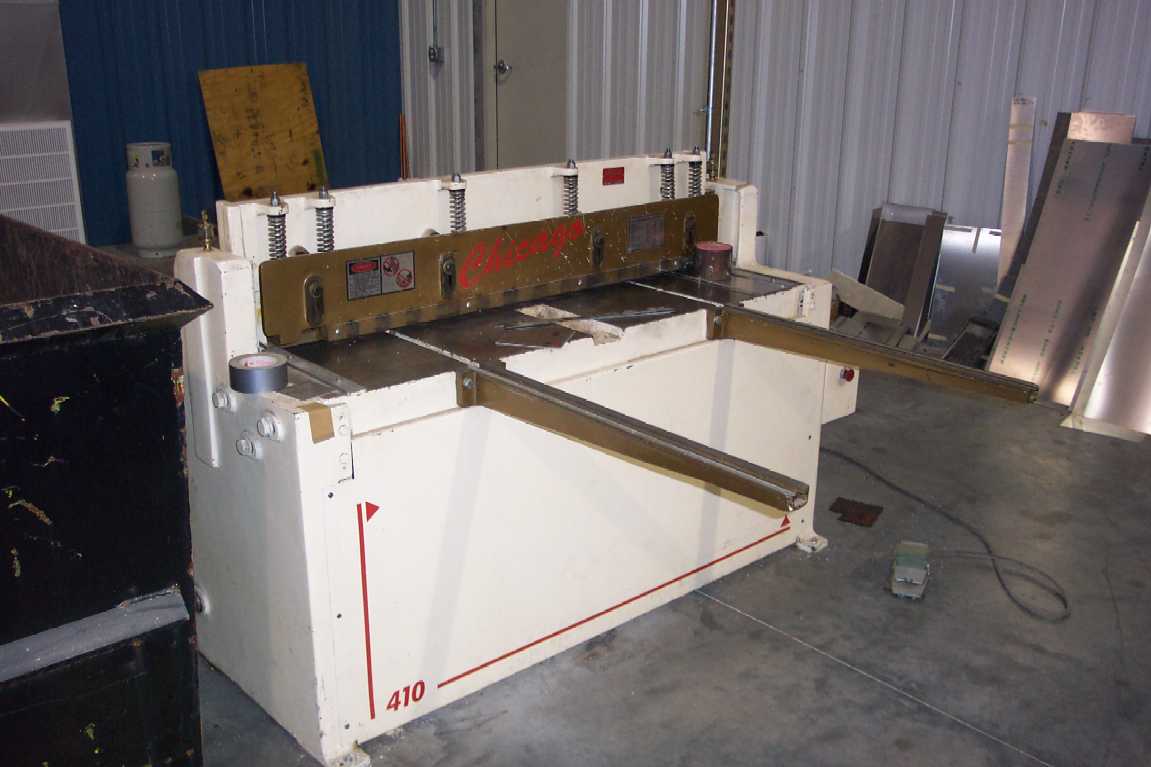
This hydraulic shear is what I used for
cutting my sheet metal blanks for all the fittings and the ribs for the
empennage. You can probably get away with a band saw for the smaller parts, but
use a shear for the ribs. They are too long and thin for accurate cutting on a
band saw. |
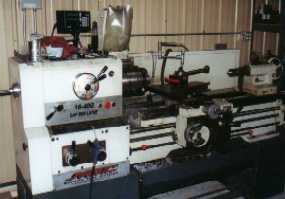 |
This is the engine lathe I used for fitting
the tubing ends for the fuselage. It is also great for making the strut end
fittings and all the little bushings required. |
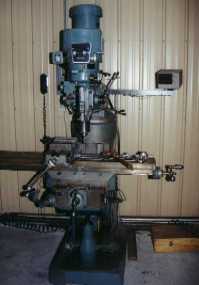 |
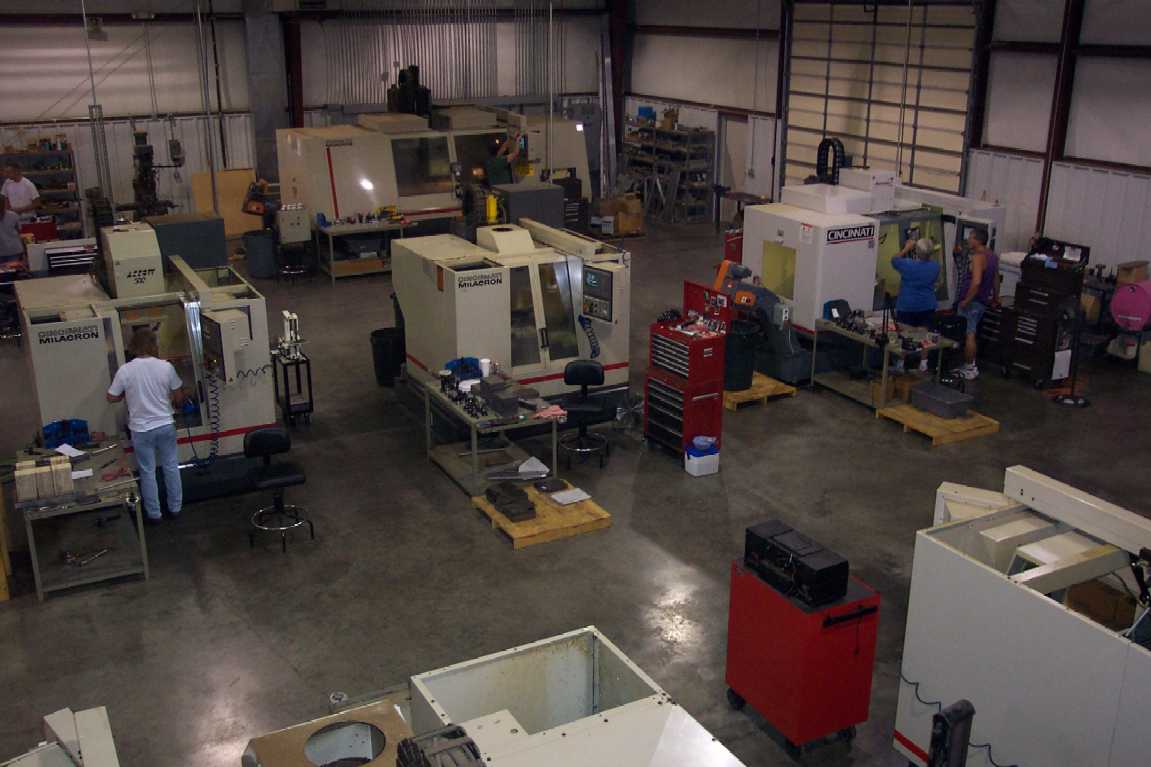
I haven't used this much for my Pup because
I have CNC mills. These are great for making fixtures and machining fittings.
If you don't have access to a mill or a lathe, try to purchase one on ebay or
through your local paper. |
 |
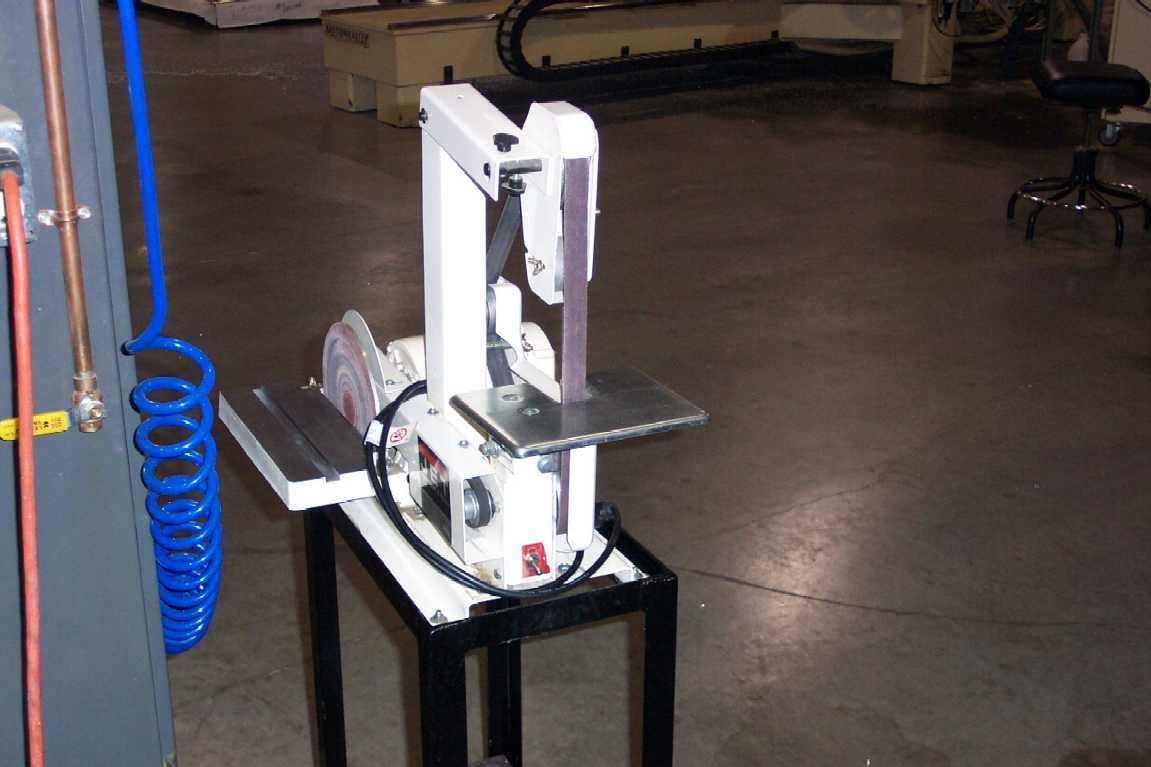
This 1" belt sander comes in very handy
for de-burring parts. Not absolutely necessary, but a real time-saver.
|
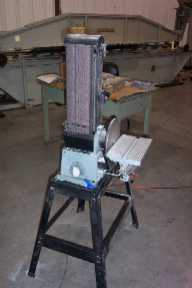 |
I would purchase a 6" belt sander
before a bench grinder or the 1" belt sander. This is a light duty
woodworking tool, but it has enough power to grind fittings to shape and the
finesse to do a good job of de-burring. |
 |
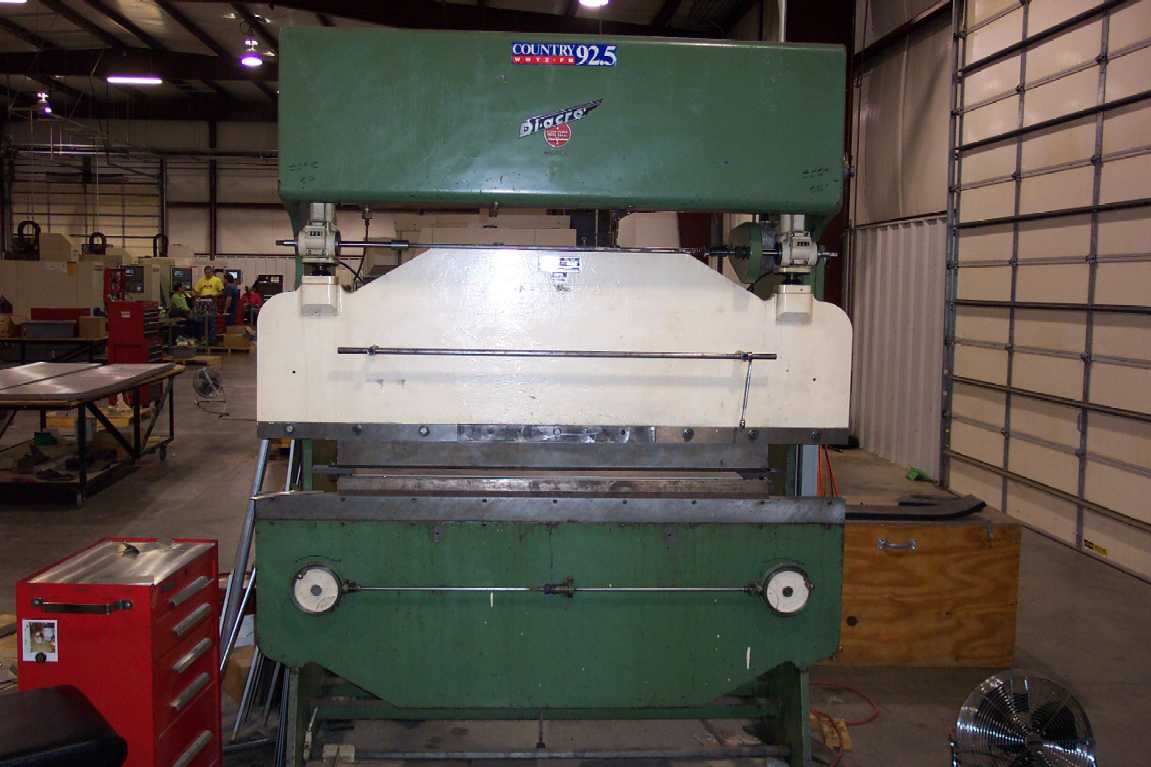
I have formed all my parts on this Di-Acro
press brake. It is a 35 ton with a 6' bend length. It has a very accurate
backstop and makes beautiful parts consistently. You can use a leaf brake
instead but you give up a lot of accuracy unless you are very skilled.
|
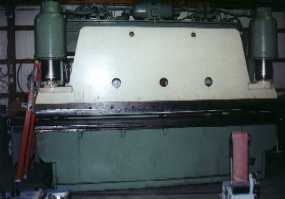 |
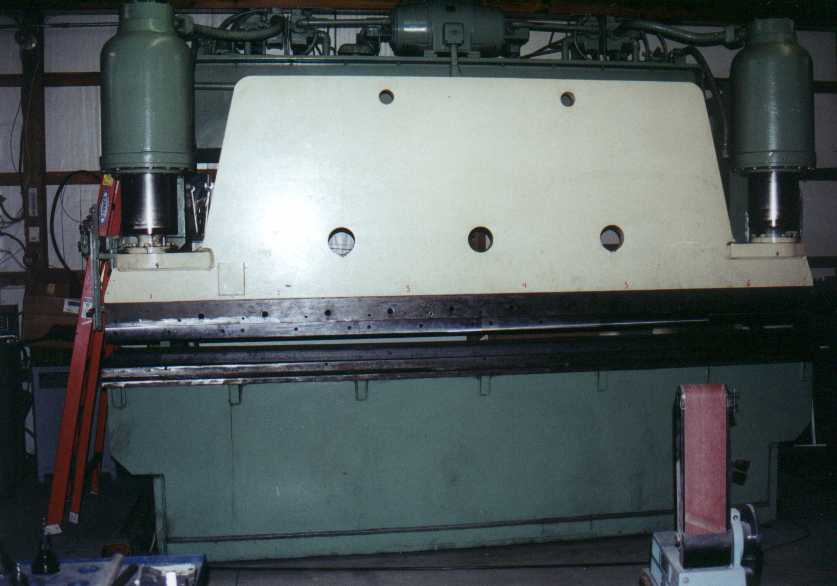
This is a Pacific 12' 150 ton press brake.
Definitely not necessary for your Pup. We use it for forming parts in rubber
and forming the trailing edge of control surface skins. Aluminum normally comes
in 12' sheets so we have purchased some of our equipment to accommodate parts
that size. |
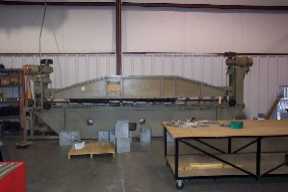 |
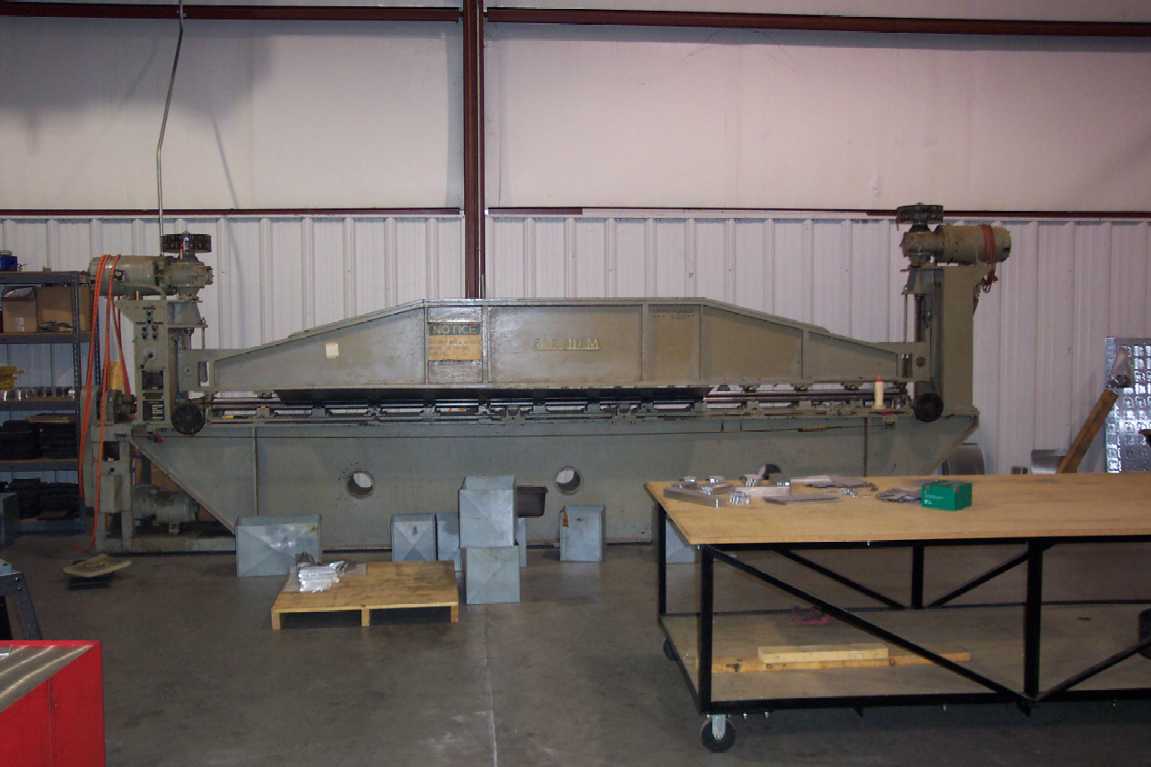
This is a 15' Farnham roll. It was made
specifically to form leading edge wing skins. It can roll as small as a 1"
radius but .063" aluminum is the thickest material you can form. I might
use it to form the leading edge of my wing if it is too difficult to pull it
around the ribs, but it probably won't be necessary. |
 |
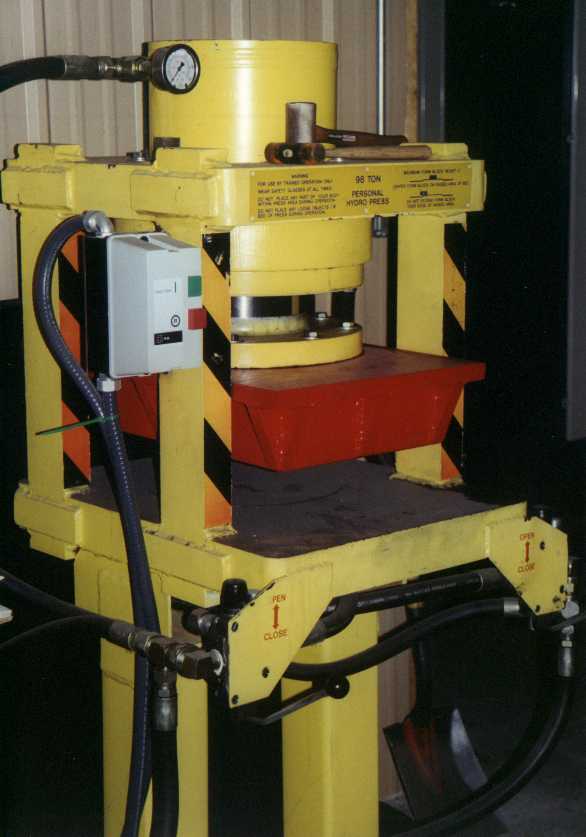
This is a 98 ton hydro press. It has a
10" x 20" capacity. I can form the aileron ribs on this but I will
have to farm out the wing ribs or form them by hand. This press was made by
Personal Press and I am friends with the owner of the company so I might be
able to "test" one of his larger presses when I am ready to form my
ribs. The red box is filled with urethane. You put your flat pattern on the
form block, smash it down and the urethane forms the blank against the form
block. It goes much faster than forming a part by hand. |
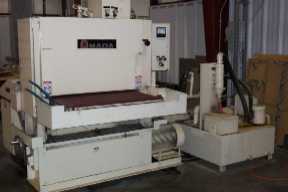 |
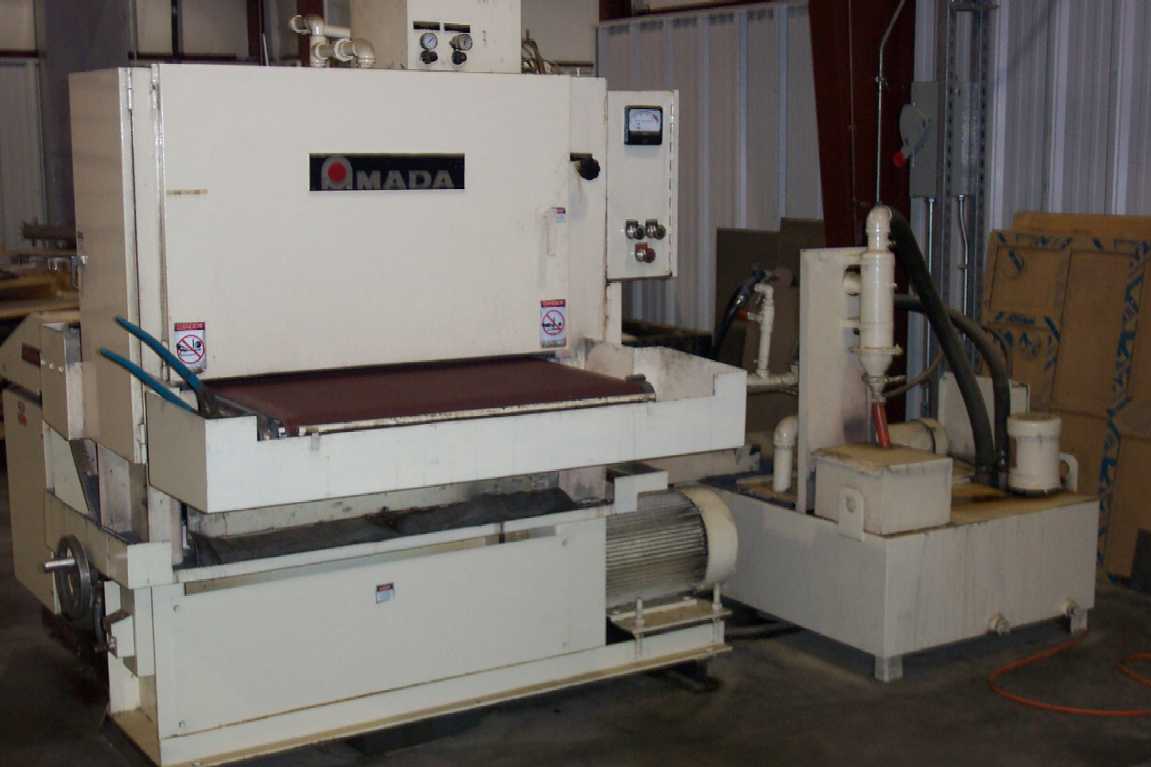
We call this a Timesaver but it is actually
made by Amada. It is a 37" wide belt sander for de-burring sheet metal
parts. It has a coolant system to keep the parts from warping and a dryer to
get the coolant off the parts. 2024 is normally clad so I will be de-burring my
ribs by hand. |
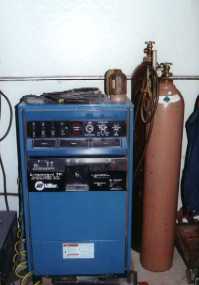 |
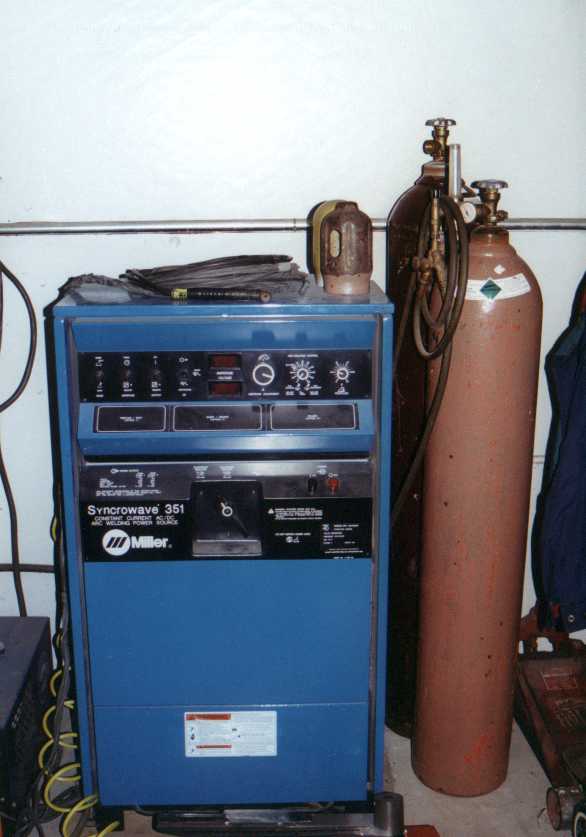
This is the TIG welder I used for my
fuselage. Definitely do your welding with one of these if you can. It can
produce very strong, beautiful welds. |
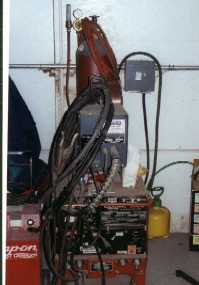 |
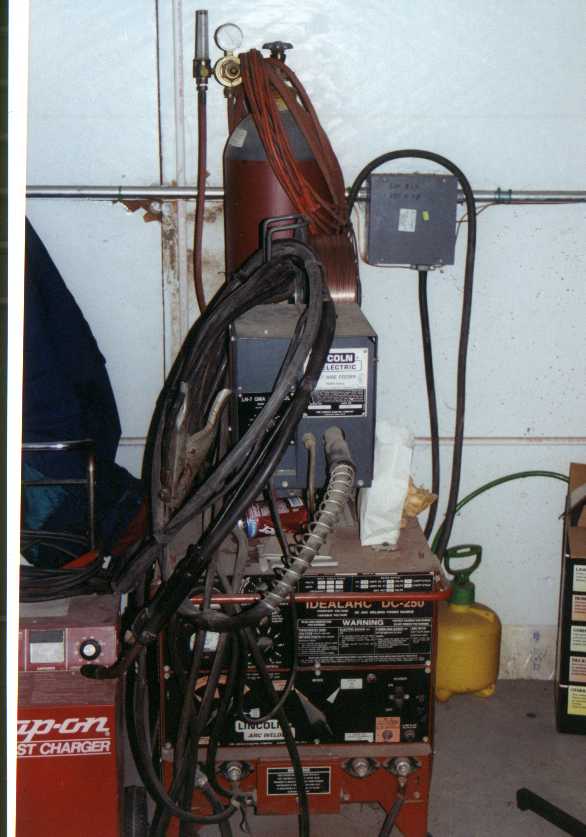
Don't use one of these for aircraft parts. A
MIG welder is good for making fixtures or repairing your car but it is too hard
to judge the penetration you are getting on lightweight aircraft parts. Just
say no. |
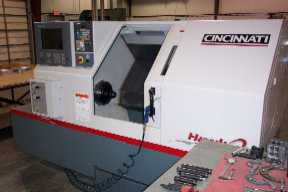 |
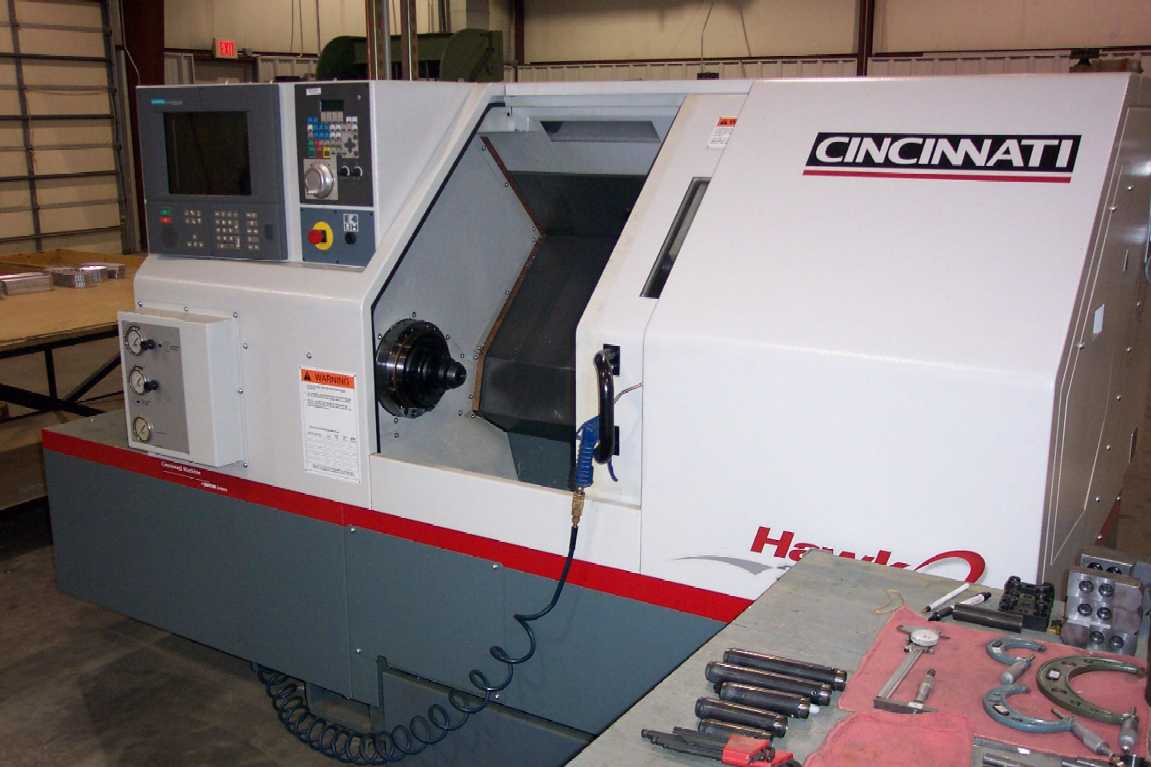
Now we're getting to the good stuff. This is
a CNC lathe. Great for making repetitive parts like the bushings I was talking
about earlier. Takes longer to set up for one or two parts than an engine
lathe. They are also expensive and hard to learn how to program and run. I am
making Pup parts on this but an engine lathe is all that is necessary.
|
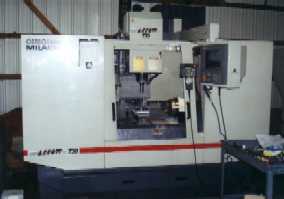 |
This is a CNC mill. This is the perfect
machine for making Pup fittings. I wrote the programs, made the fixtures and
cut all my fittings for two Pup's in 4 days of free time, about 16 hours. Every
part is close to perfect. It has the same downside as the CNC lathe.
|
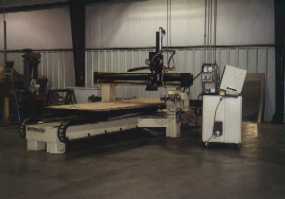 |
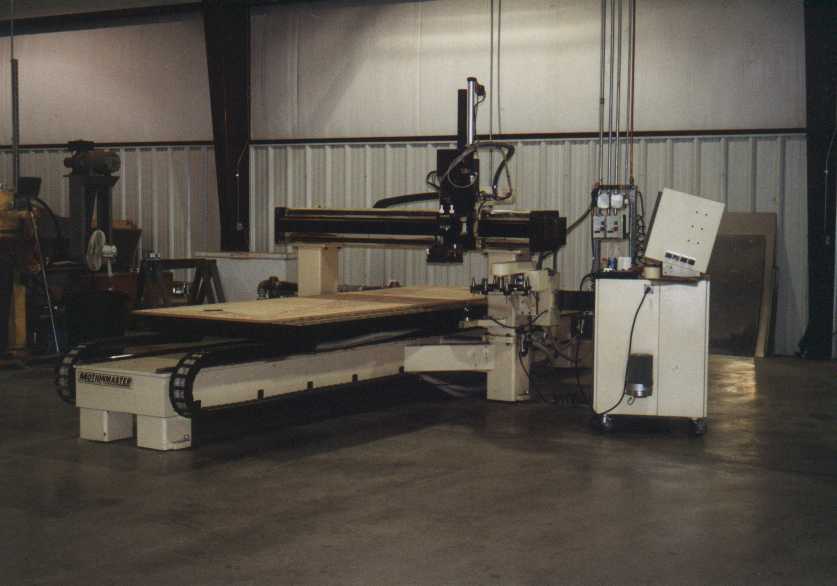
We use this CNC router for drilling our flat
sheet parts. It has a 5' x 12' table so we can process a full sheet of
aluminum. The average sheet we cut has 30 parts and 1200 holes to drill. This
is the best way to cut aluminum sheet for aircraft parts. For making parts in
your shop, make a template and use a router to cut your parts. You could also
use a band saw or tin snips. |
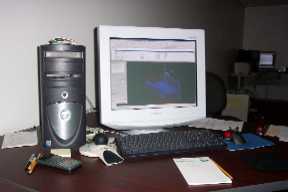 |
This is a typical workstation we do our
modeling and CNC programming on. You can see a solid model on the screen. The
mouse looking thing with the ball on the left side is a Spaceball. It is used
to rotate, pan and zoom the part on the screen without using menu commands or
the mouse. We use Unigraphics for our modeling and programming. We think it is
the best software available for the work we do. |
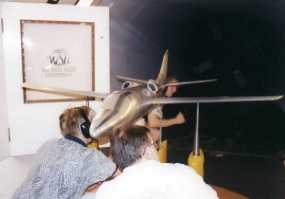 |
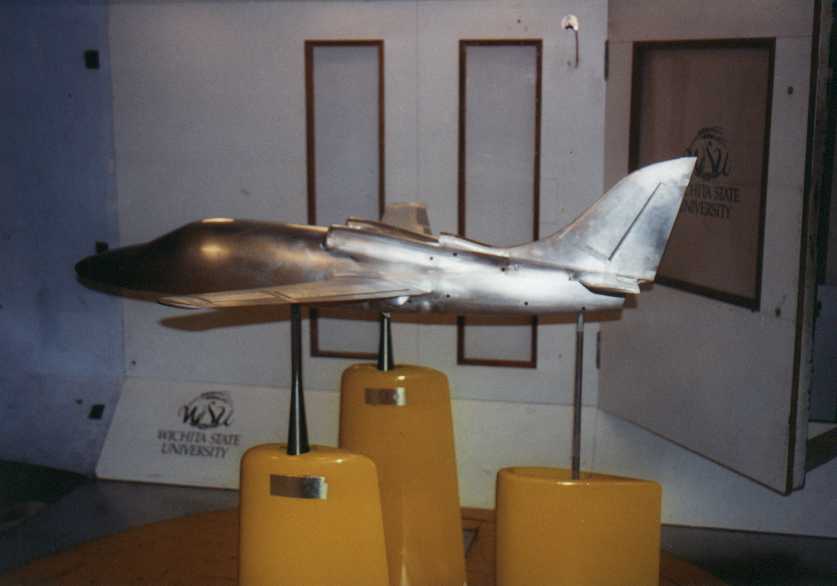
What can you do if you have access to this
kind of equipment? Almost anything you can imagine. This is what I would
consider my thesis for machine work. It is a wind tunnel model we were
contracted to manufacture a few years ago. I did the basic design work for the
assembly. I programmed all the parts and I did a lot of the machine
work. |
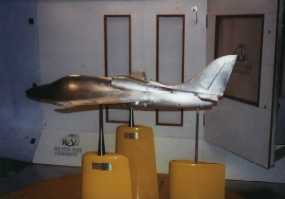 |
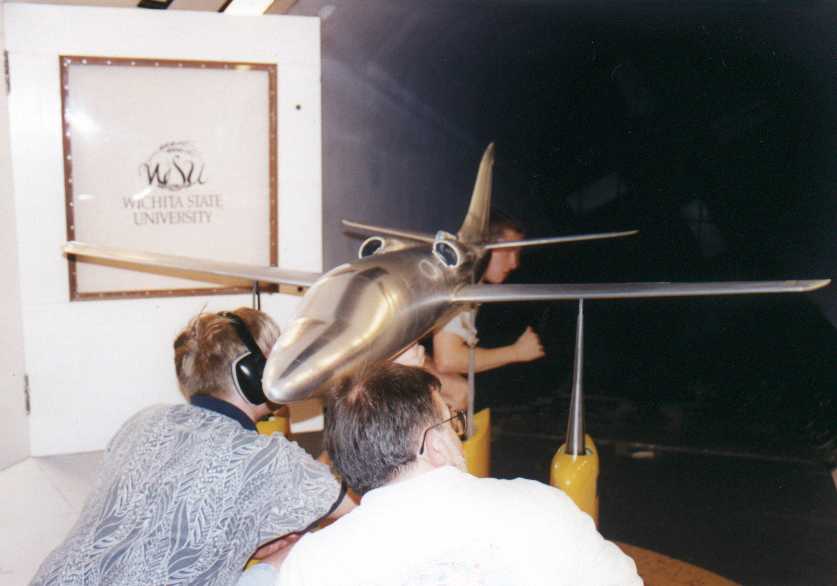
This picture shows some more details. It is
hollow on the inside to make it easier to handle. The intakes and the ECS
follow the same contours on the inside as the real plane and exit out the
exhaust in the tail. It is completely configurable for any flight mode
including gear down. |
 Shop Equipment